Self-hosting LangSmith with Docker
Self-hosting LangSmith is an add-on to the Enterprise Plan designed for our largest, most security-conscious customers. See our pricing page for more detail, and contact us at sales@langchain.dev if you want to get a license key to trial LangSmith in your environment.
This guide provides instructions for installing and setting up your environment to run LangSmith locally using Docker. You can do this either by using the LangSmith SDK or by using Docker Compose directly.
Prerequisites
- Ensure Docker is installed and running on your system. You can verify this by running:If you don't see any server information in the output, make sure Docker is installed correctly and launch the Docker daemon.
docker info- Recommended: At least 4 vCPUs, 16GB Memory available on your machine.
- You may need to tune resource requests/limits for all of our different services based off of organization size/usage
- Disk Space: LangSmith can potentially require a lot of disk space. Ensure you have enough disk space available.
- Recommended: At least 4 vCPUs, 16GB Memory available on your machine.
- LangSmith License Key
- You can get this from your Langchain representative. Contact us at sales@langchain.dev for more information.
- Api Key Salt
- This is a secret key that you can generate. It should be a random string of characters.
- You can generate this using the following command:
openssl rand -base64 32 - Configuration
- There are several configuration options that you can set in the
.envfile. You can find more information on the available configuration options in the Configuration section.
Running via Docker Compose
The following explains how to run the LangSmith using Docker Compose. This is the most flexible way to run LangSmith without Kubernetes. In production, we highly recommend using Kubernetes.
1. Fetch the LangSmith docker-compose.yml file
You can find the docker-compose.yml file and related files in the LangSmith SDK repository here: LangSmith Docker Compose File
Copy the docker-compose.yml file and all files in that directory from the LangSmith SDK to your project directory.
- Ensure that you copy the
users.xmlfile as well.
2. Configure environment variables
- Copy the
.env.examplefile from the LangSmith SDK to your project directory and rename it to.env. - Configure the appropriate values in the
.envfile. You can find the available configuration options in the Configuration section.
You can also set these environment variables in the docker-compose.yml file directly or export them in your terminal. We recommend setting them in the .env file.
2. Start server
Start the LangSmith application by executing the following command in your terminal:
docker-compose up
You can also run the server in the background by running:
docker-compose up -d
Validate your deployment:
Curl the exposed port of the
cli-langchain-frontend-1container:curl localhost:1980/info
{"version":"0.5.7","license_expiration_time":"2033-05-20T20:08:06","batch_ingest_config":{"scale_up_qsize_trigger":1000,"scale_up_nthreads_limit":16,"scale_down_nempty_trigger":4,"size_limit":100,"size_limit_bytes":20971520}}Visit the exposed port of the
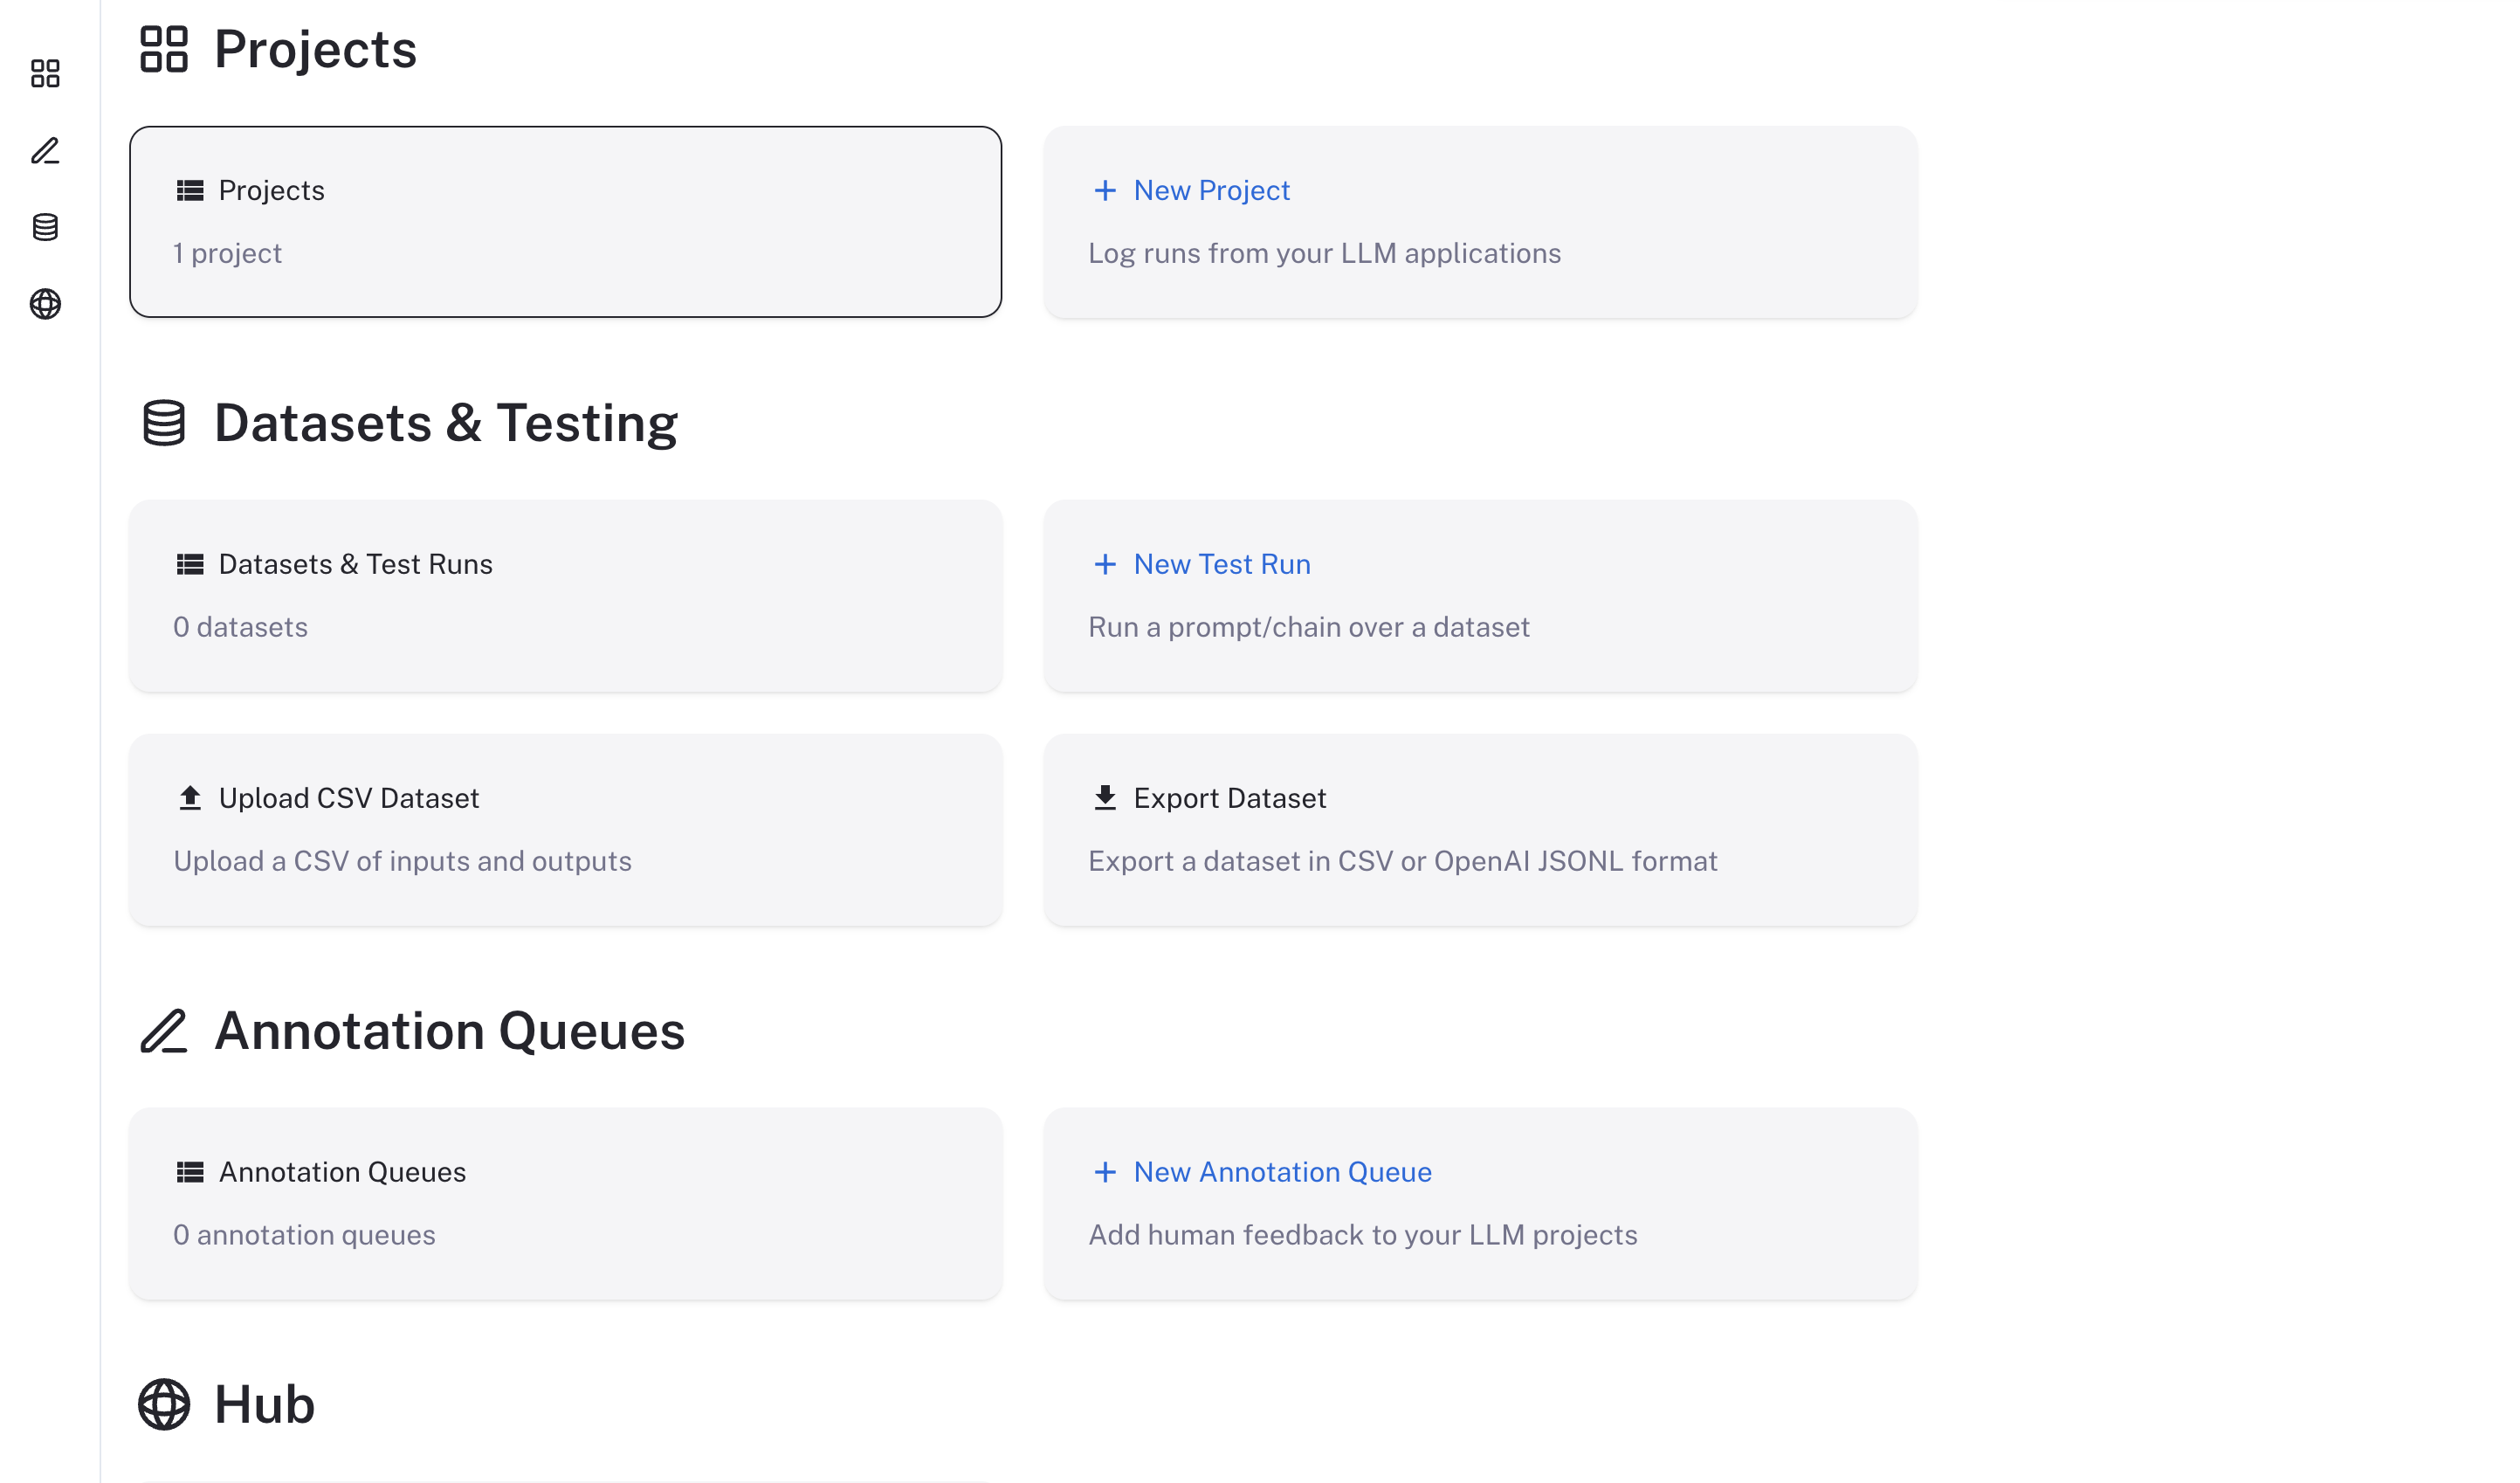
cli-langchain-frontend-1container on your browserThe Langsmith UI should be visible/operational at
http://localhost:1980
Checking the logs
If, at any point, you want to check if the server is running and see the logs, run
docker-compose logs
Stopping the server
docker-compose down
Using LangSmith
Now that LangSmith is running, you can start using it to trace your code. You can find more information on how to use self-hosted LangSmith in the self-hosted usage guide.
Your LangSmith instance is now running but may not be fully setup yet.
If you used one of the basic configs, you may have deployed a no-auth configuration. In this state, there is no authentication or concept of user accounts nor API keys and traces can be submitted directly without an API key so long as the hostname is passed to the LangChain tracer/LangSmith SDK.
As a next step, it is strongly recommended you work with your infrastructure administrators to:
- Setup DNS for your LangSmith instance to enable easier access.
- Configure SSL to ensure in-transit encryption of traces submitted to LangSmith
- Configure LangSmith for oauth authentication or basic authentication to secure your LangSmith instance